This tutorial will explain how to build ESP8266 Arduino water leak sensor with ESP8266 EasyIoT library and EasyIoT server. It can be also used as rain or soil moisture sensor.
Materials:
-ESP8266 WiFi module
| ESP8266 ESP-01 Serial WIFI Wireless Transceiver Module | |
$2.11  | |
$17.00  |
| ESP8266 ESP-03 Serial WIFI Wireless Transceiver Module | |
$2.07  | |
$2.15  |
| ESP8266 ESP-12 Serial WIFI Wireless Transceiver Module | |
$2.06  | |
$1.75  |
| ESP8266 ESP-05 Serial WIFI Wireless Transceiver Module | |
$1.88  |
| ESP8266 ESP-07 Serial WIFI Wireless Transceiver Module | |
$2.18  | |
$1.88  |
-Arduino
| 3.3V 8Mhz Arduino Pro Mini | |
$2.05  | |
$1.78  |
-Water sensor with digital output
| Humidity and Rain Detection Sensor Module | |
$0.99  | |
$0.99  |
First we connect Arduino and ESP8266. If you are using 5V Arduino read Arduino 5V ESP8266 connection how to do it. In case of 3.3V arduino use Arduino 3.3V ESP8266 connection tutorial.

Then connect water leak sensor to Arduino. Connect power supply to sensor (Gnd and Vcc) and digital output of sensor to digital pin 2 of Arduino.
Next step is program Arduino. ESP8266 leak sensor can be download from GitHub. Don't forget to set server IP, AP and AP username and password in Esp8266EasyIoTConfig.h.
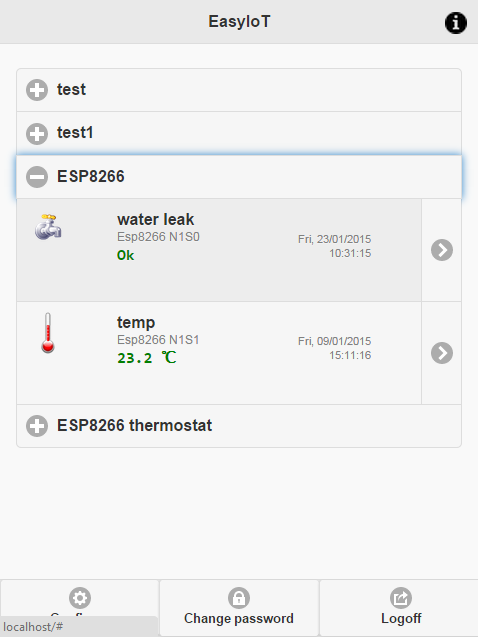
After you program Arduino add new sensor to EasyIoT sensor. This can be done under Configuration->Drivers->ESP8266 in EasyIoT server web interface. After you successfully added new sensor add new module in one of groups. If you done everything correctly you should see sensor in front page.

In next post we will show how to build even more sensors with EsyIoT library, so be sure to come back on this site.
See more tutorials at http://iot-playground.com/build
Buying guide
To support this site and EasyIoT framework development please buy in our store.