In this tutorial we will show how to connect ESP8266 WiFi module to Arduino. We will use software serial port. HW serrial port will be available for program uploading and debugging.
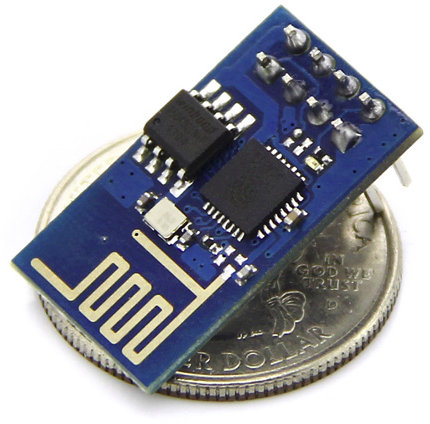
ESP8266 WiFi module is WiFi serial transceiver module, based on ESP8266. Small size and low cost makes it suitable for sensor nodes. It works on 3.3V and consumes current up to 250mA. Current consumption is quite big so it's usually not powered on battery. If you are using 5V Arduino, then read ESP8266 WiFi and 5V Arduino connection.
For arduino board we will use Arduino pro mini 3.3V 8Mhz and software serial port. HW serrial port will be available for program uploading and debugging. Later you can switch module to HW serial port.
Before we start using ESP8266 WiFi module we need to update ESP8266 firmware. We use V0.9.2.2 version of firmware. Detail instructions how to update firmware can be found here. New firmware default baudrate is 9600 which makes possible to use software serial on Arduino board.
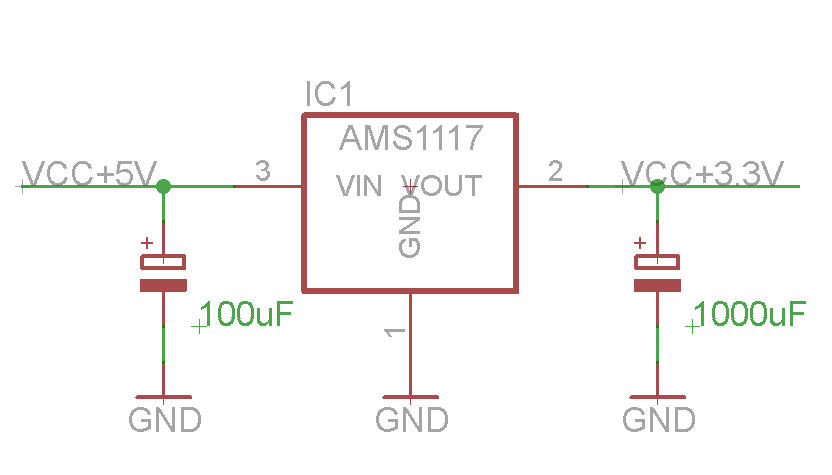
ESP8266 current consumption is too big to use Arduino internal regulator. We will use dedicated power regulator AMS1117. Make sure to use big enough additional capacitors to prevent voltage drops when transmitting.
Power supply
Connecting ESP8266 WiFi module and Arduino Pro Mini 8Mhz, 3.3V
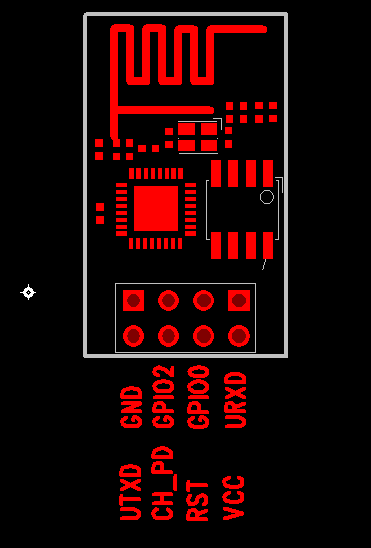
ESP8266 WiFi module pinout
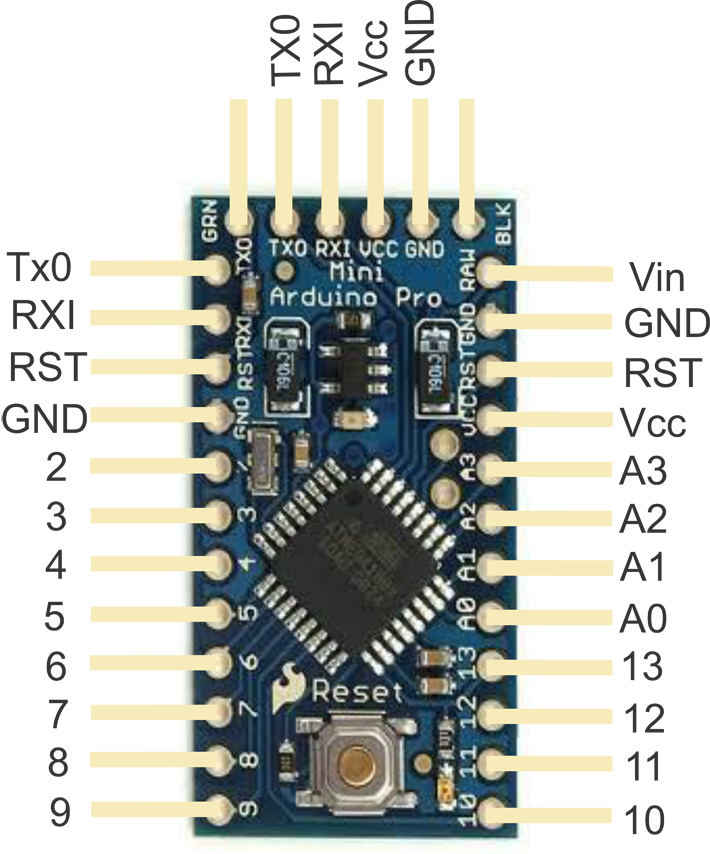
Arduino Pro Mini 3.3V 8Mhz pinout
| ESP8266 module | Arduino pro mini module | Power supply |
| VCC | VCC | 3.3V VCC power supply |
| GND | GND | GND power suppy |
| RST | 3 | |
| UTXD | 10 | |
| URXD | 11 | |
| CH_PHD | 3.3V VCC power supply |
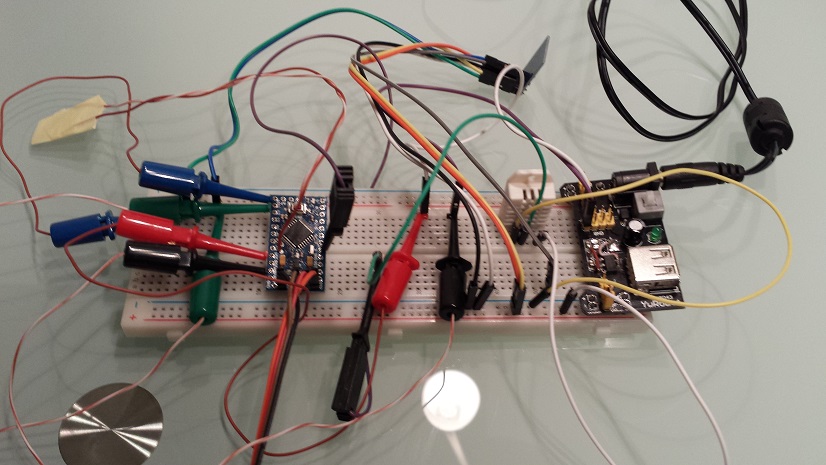
Testing ESP8266 DHT22 temperature and humidity sensor node.
In next post we will show how to use ESP8266 module connected to Arduino as sensor node with ESP8266 EasyIoT libray.
See more tutorials at http://iot-playground.com/build
Buying guide
To support this site and EasyIoT framework development please buy in our store.

 $2.05
$2.05


Comments
It is very difficult for me to figure out how to connect the ESP8266 to the Arduini Pro Mini (New to IOT). So a sketch would be a great help.
Thank you so much!
yes, sorry, my bad
Table os Ok. It's 3.3V Arduinno not 5V. Here you have many HW and SW examples:
iot-playground.com/build
also a sample software setup would be good.
RSS feed for comments to this post