In this tutorial we will show how to build Arduino NRF24L01 (MySensors driver) irrigation controller. Controller is connected to EasyIoT server and can be controlled and monitored remotely on phone or computer. Controller supports manual and auto mode and also logs soil humidity. This irrigation controller supports up to 7 independent irrigation systems (water pumps) and is powered by solar energy.
Main characteristic
- solar powered
- remote control (on phone or computer)
- auto or manual mode.
- soil humidity logging
- up to 7 independent irrigation systems (pumps)
Materials
- Arduino pro mini 16Mhz 5V
- NRF24L01+ module
- 8 channel relay module
- 7x 12V DC pumps (or valves)
- 7x soil humidity charger
- 12V 7.5Ah accumulator
- 50W 12V solar panel
- solar charger controller
- irrigation drippers garden system
- DC step down adjustable converter
- 7x 2N2222 NPN transistor
- 7x 10K resistor
- 7x 100 ohm resistor
- 1000uF (for 5V power supply)
- 47uF (for 3.3V NRF24L01 power supply)
- case
- wires
See buying guide at the end for suggestions.
Build
12V Power supply
In our case we use solar cell to power our irrigation controller. Solar cell is connected to solar cell controller and 12V accumulator. See connection diagram below.
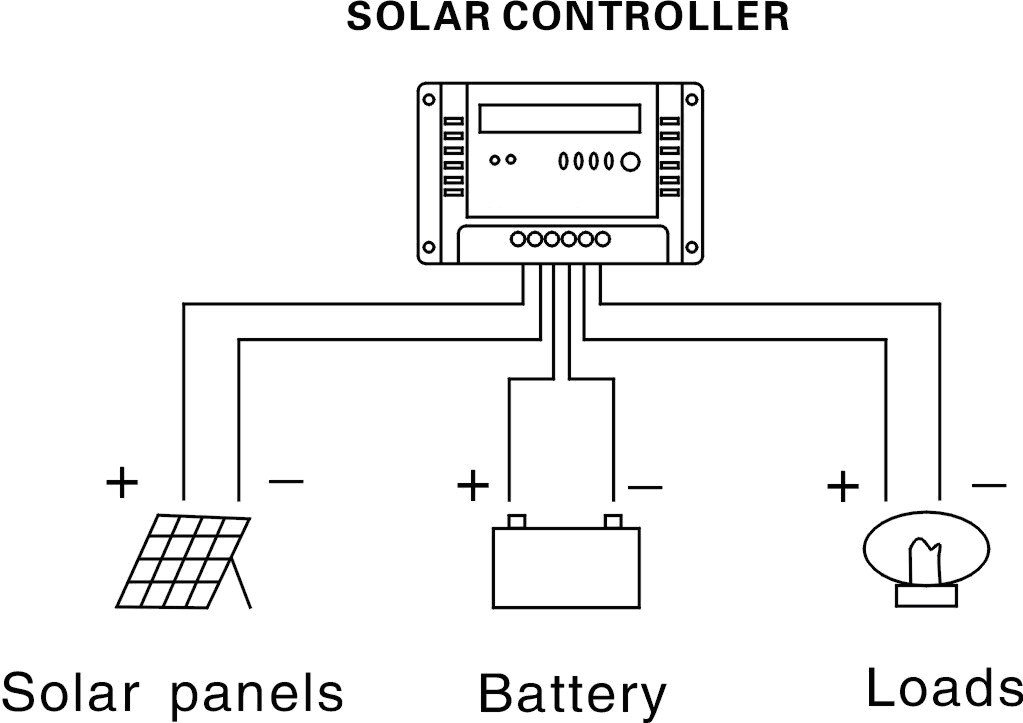
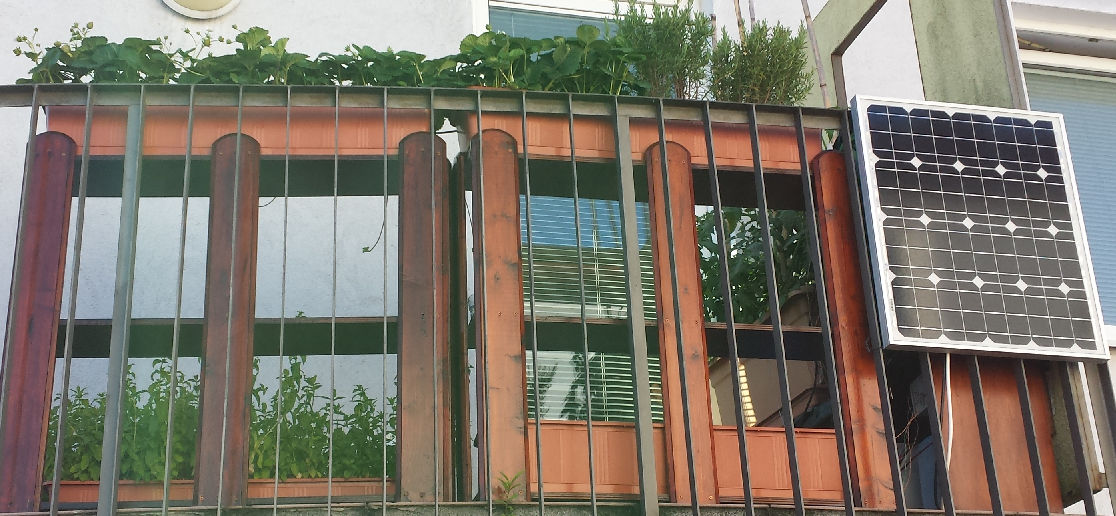
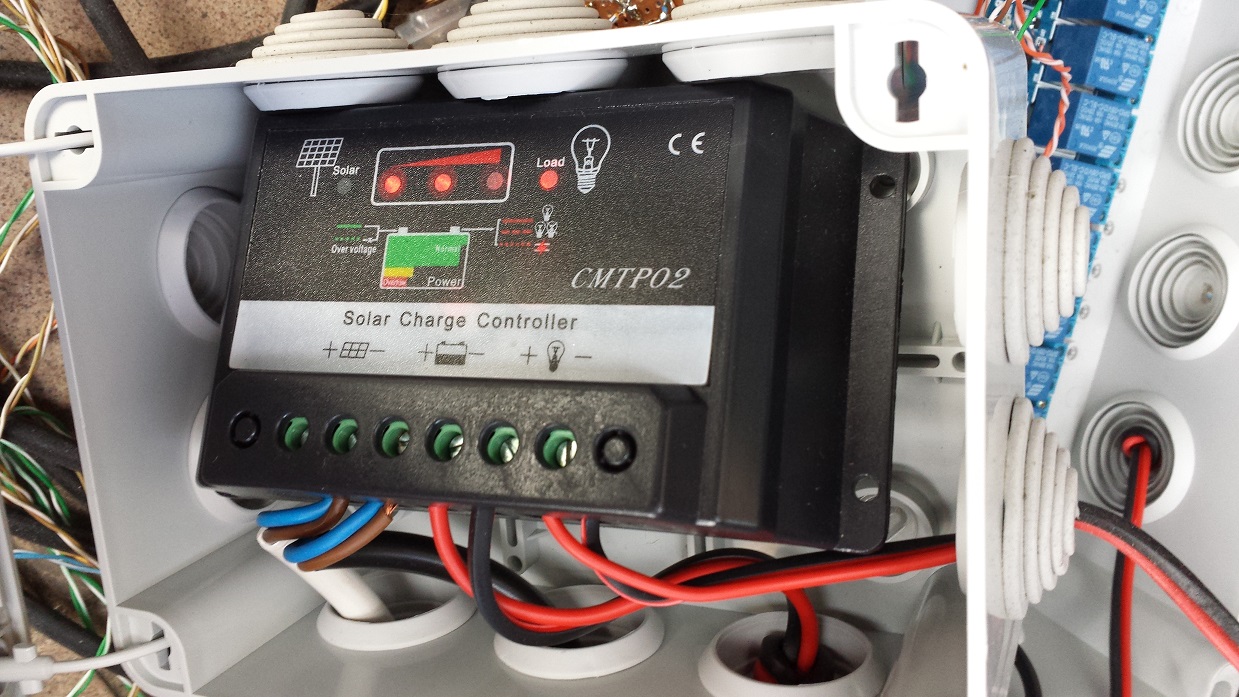
Direct 12V is used for irrigation pumps, Arduino and relay module is conencted trough 5V DC regulator.
5V Power supply
Arduino and relay module is connected to 5V. We use adjustable DC regulator connected to 12V and set 5V for output voltage. Add additional 1000uF capacitor on 5V power supply. 5V is connected to Arduino pro mini and relay module board. Also connect GND together.
Arduino NRF24L01 connection
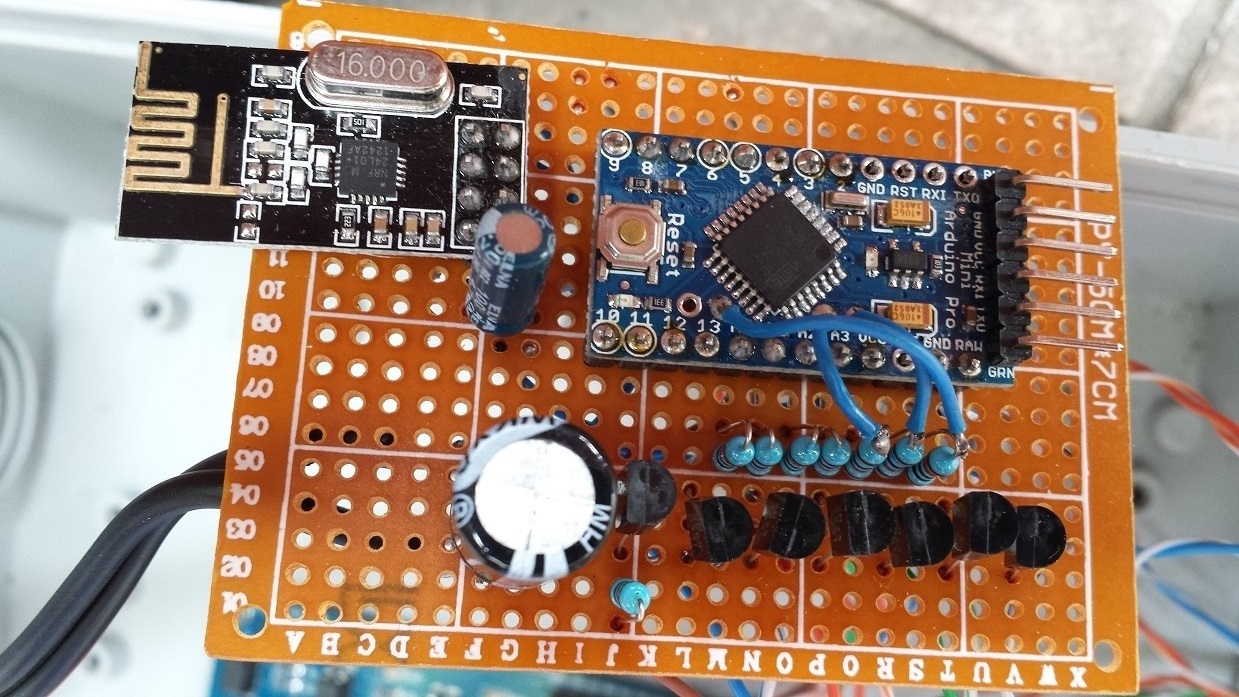
In our case we use 5V 16Mhz Arduino Pro mini board and NRF24L01 module. NRF24L01 is not 5V torrential so we will use additional 3.3V regulator. Wiring for NRF24L01 is shown below.
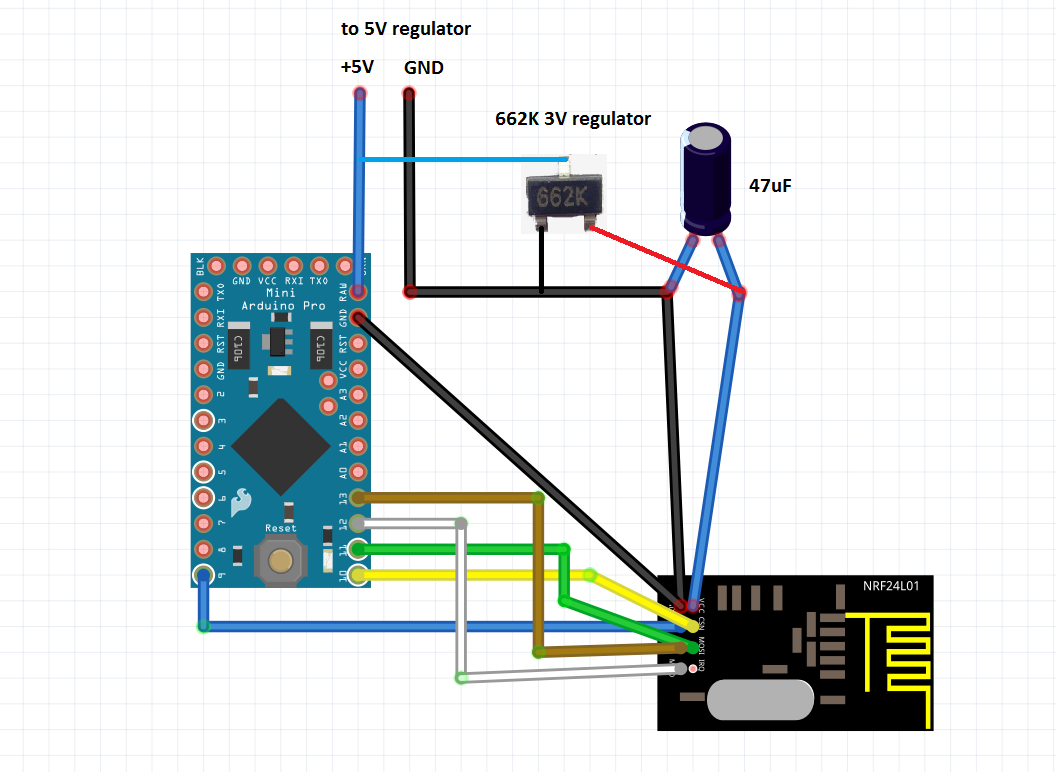
Relay module and water pumps connection
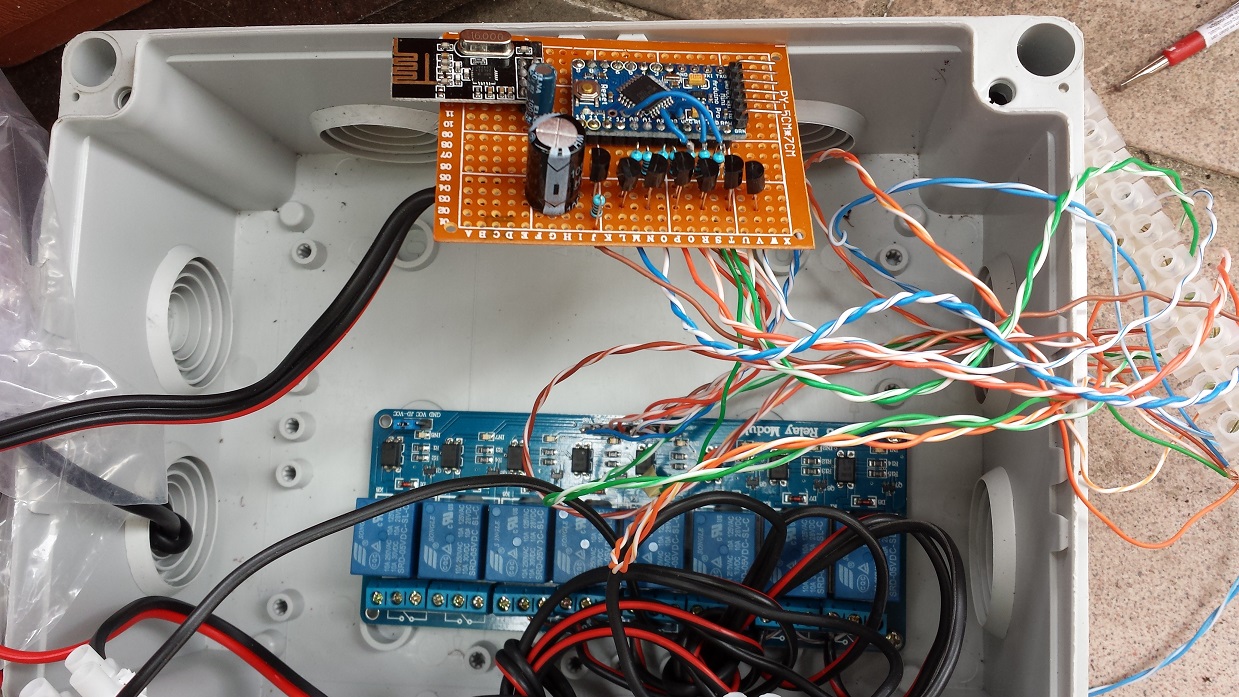
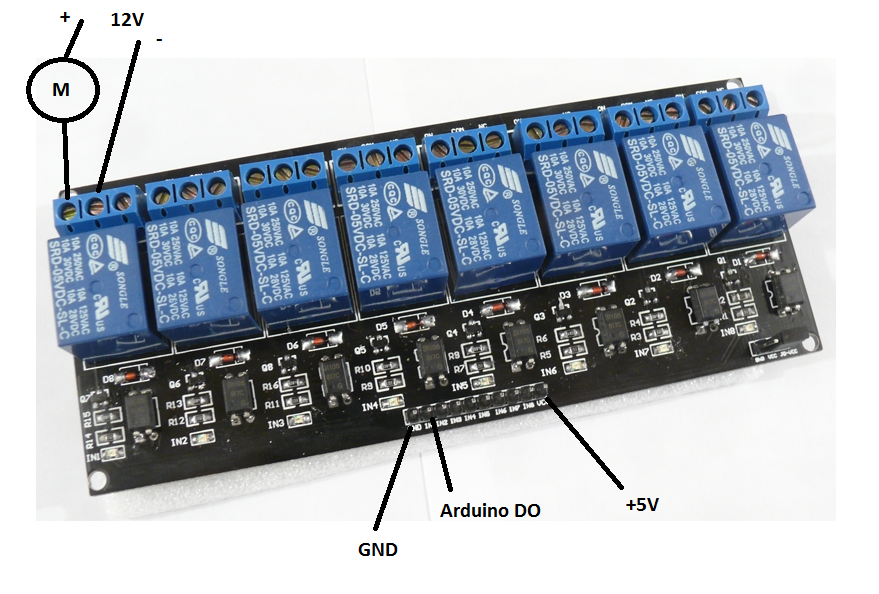
Relay module requiters 5V power supply. Connect module to 5V voltage regulator. Relay module inputs are connected to Arduino Pro Mini digital pins. Connect Arduino pins D2-D8 to relay module input.
Humidity sensor
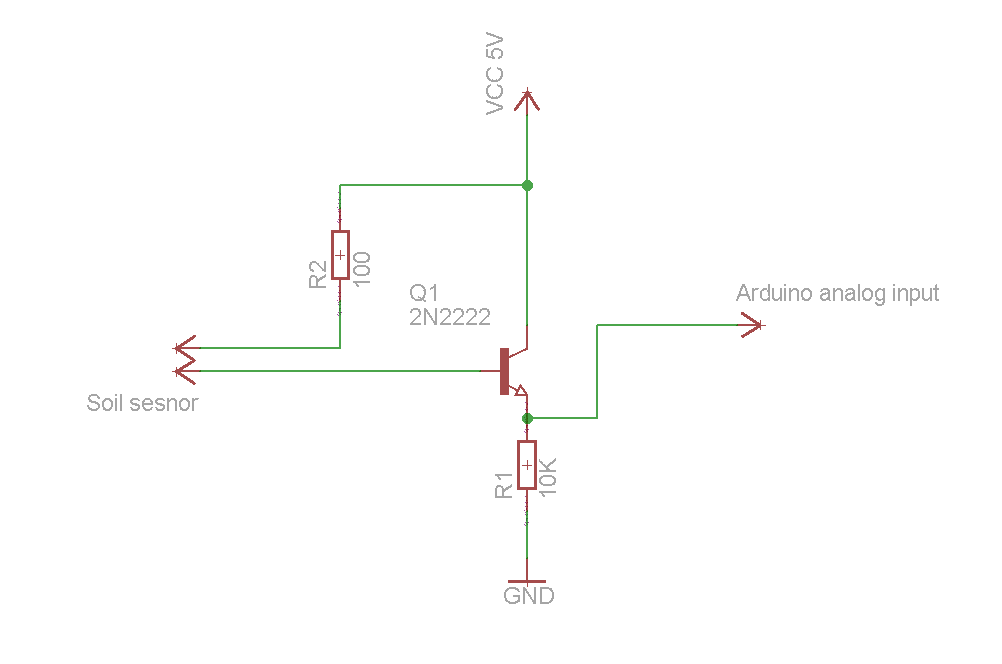
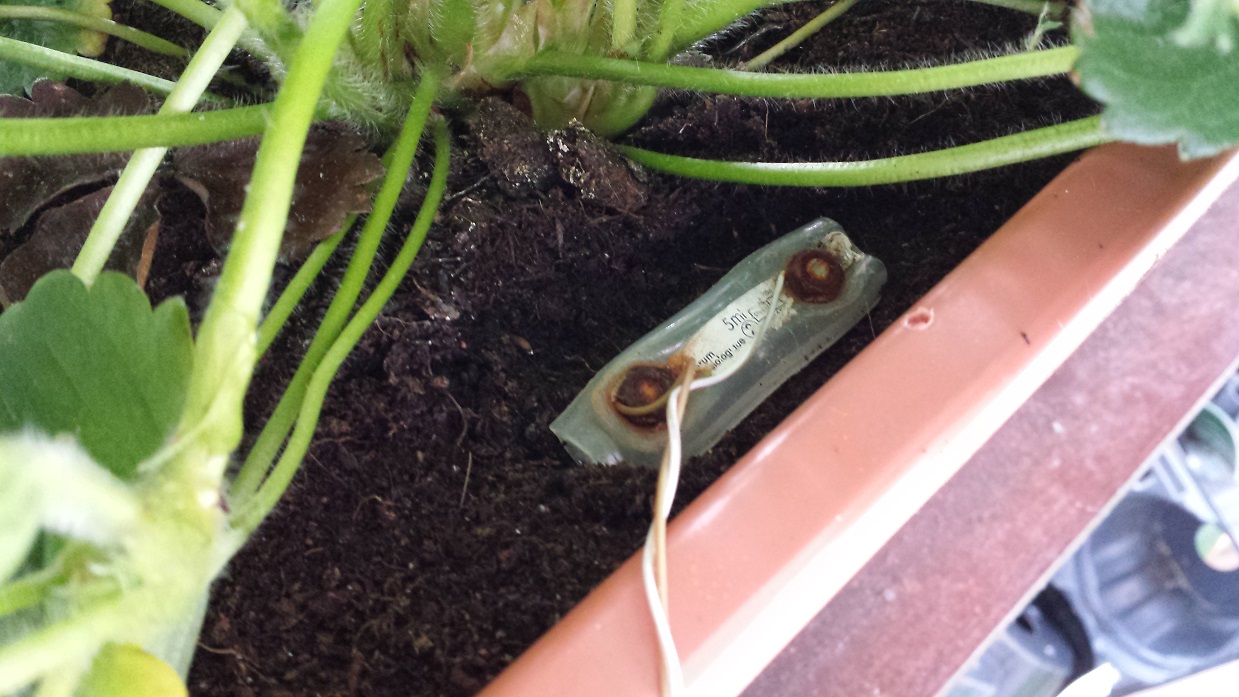
Humidity is connected to analog input on Arduino Pro mini. Additional transistor on input will protect Arduino analog input. We can add up to 7 sensors to Arduino analog inputs (A0 to A6). Place humidity sensor in pot soil.
Irrigation pipes
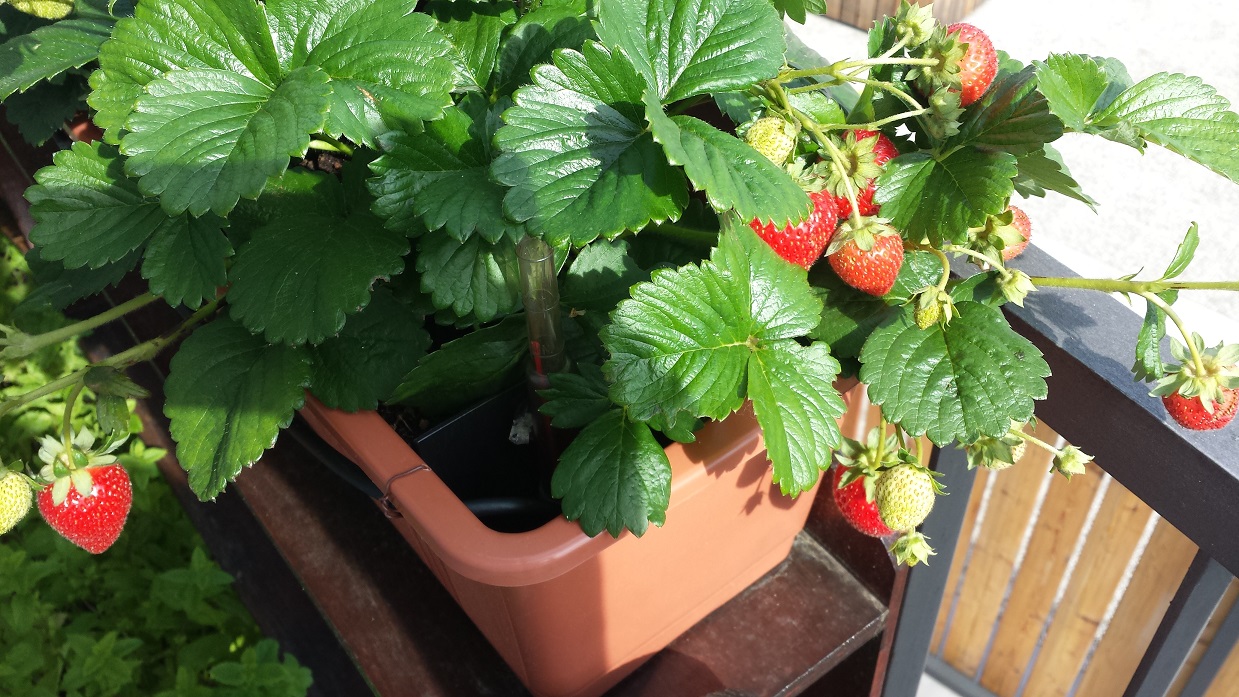
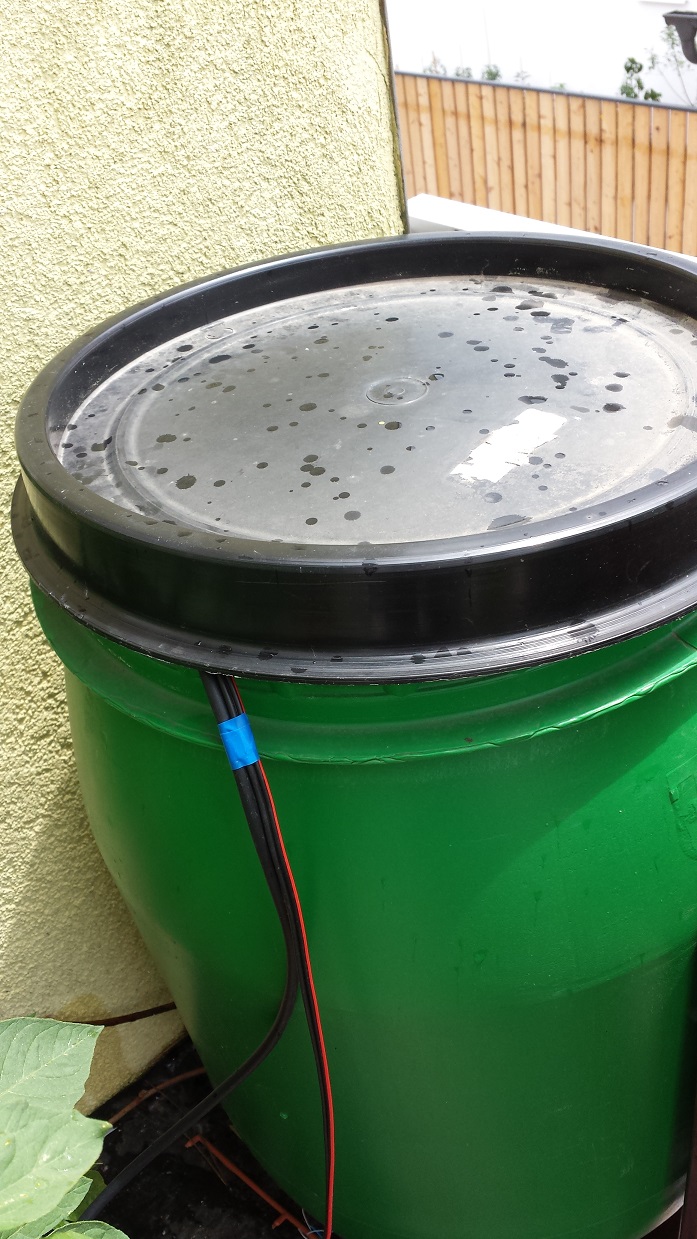
Connect irrigation pipes to irrigation pumps and place pumps in water barrel. Also connect irrigation pipes to your balcony pot. Alternatively you can use valves instead of pumps and some other water supply.
Program
Download program to Arduino. Program is available on GitHub. Before you compile program add two libraries to your Arduino IDE. First is MySensors and second is Irrigation library. Don't forget to set correct channel in MyConfig.h for MySensors library and number of irrigation controllers in Irrigation library. Right now number of irrigation controllers is set to 5 (#define MAX_IRRIGATORS 5), but you can increase number up to 7.
Configure EasyIoT server
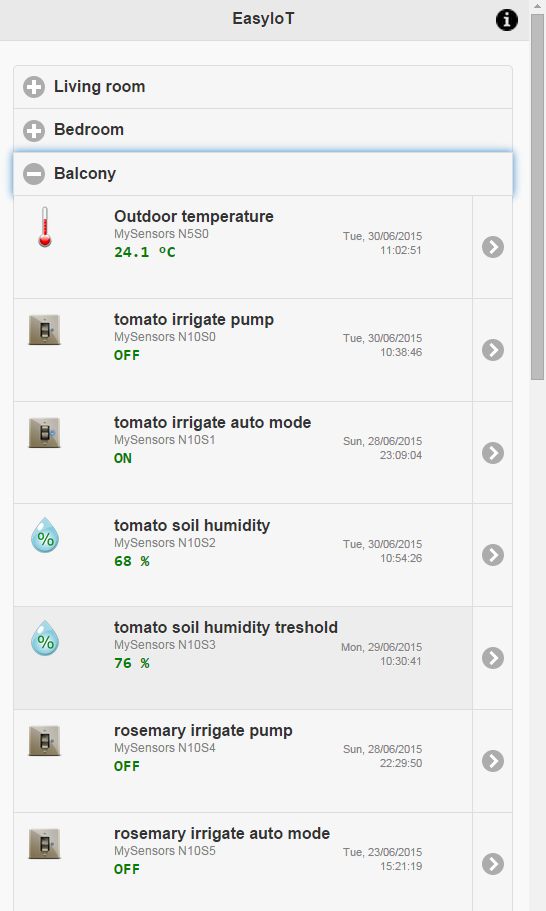
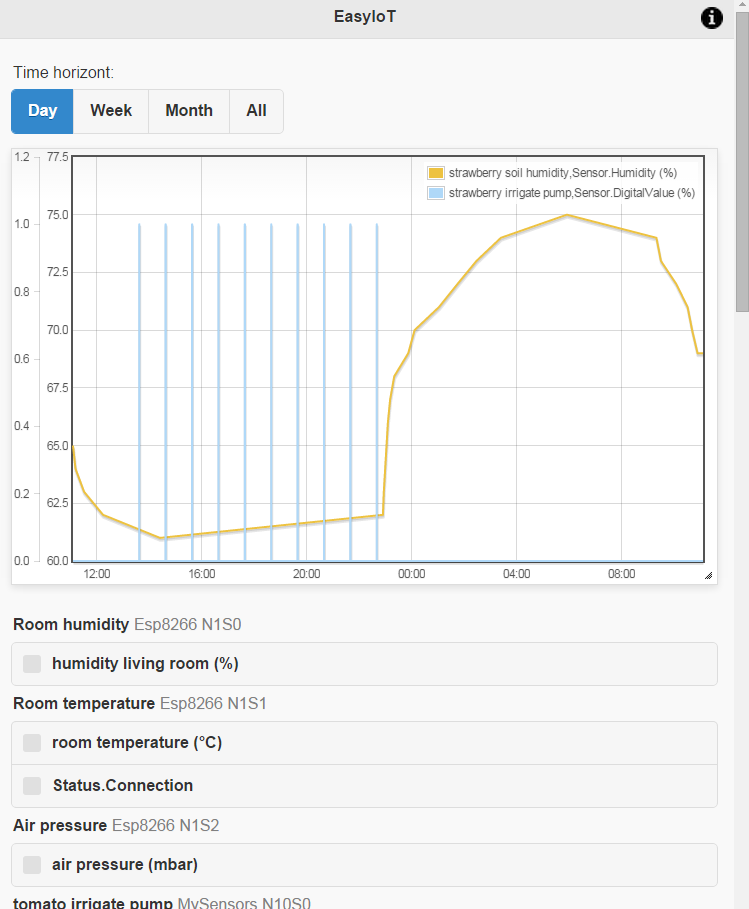
Afer Arduino programming add irrigation controller to EasyIoT server (only EasyIoT RPI controller supports NRF24L01 MySesnors driver). Go to EasyIoT web interface under Configure->Drivers->MySensors driver and press button Add Node. After that power up irrigation controller and wait 30s. If everything is correct you should see new nodes (no timeout message). Then go back in Group and modules and create group named "Balcony". Add newly added nodes to this group. Also set data logging for humidity sensor. If everything is correct you should group "Balcony" with newly added sensors on front page.
See more tutorials at http://iot-playground.com/build
Buying guide
To support this site and EasyIoT framework development please buy in our store.
Comments
Comments and discussions on community forum.
 $1.75
$1.75 $1.99
$1.99