In this tutorial we will show how to add custom module icon.
Sometimes we want to add custom icon to our module visualization in user interface. There are predefined icons for different module types, but we can change module icon if we want to replace it with our custom icon.
In first step we create icon in size 128 x 128 px. PNG picture format is recommended with transparent background. Use your faworite photo editor program (Photoshop,..). If we need two state icons we create one more icon for second state. Second icon name is with suffix 1. For example if we name first icon radiator.png, second icon is radiator1.png.
Here are examples of two icons:
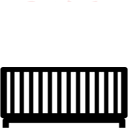
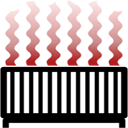
Next we save icons in correct folder on EasyIoT server. Go in easyioy/html/images/custom folder and save new icons there.
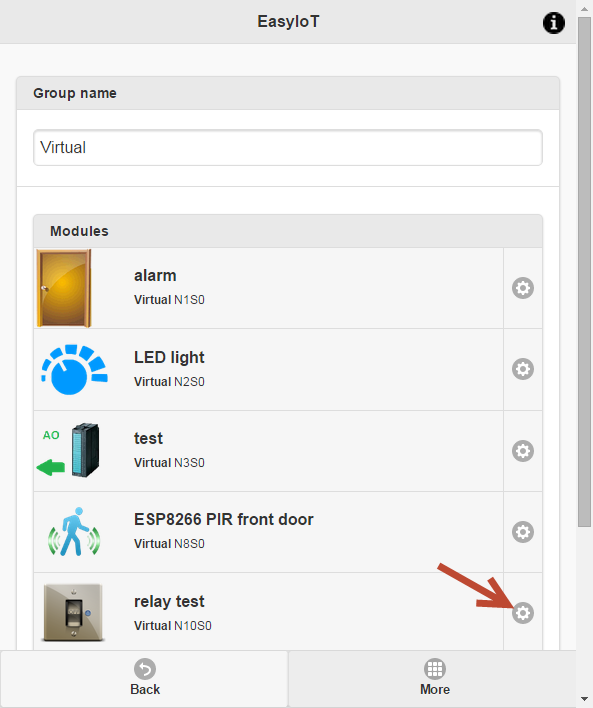
In next step we configure custom icons in node. Go in Web interface Configure->Groups and modules and select one group. In group select module and go to module properties.
Now add property with name Settings.Icon and value is name of icon. In our case radiator.png.
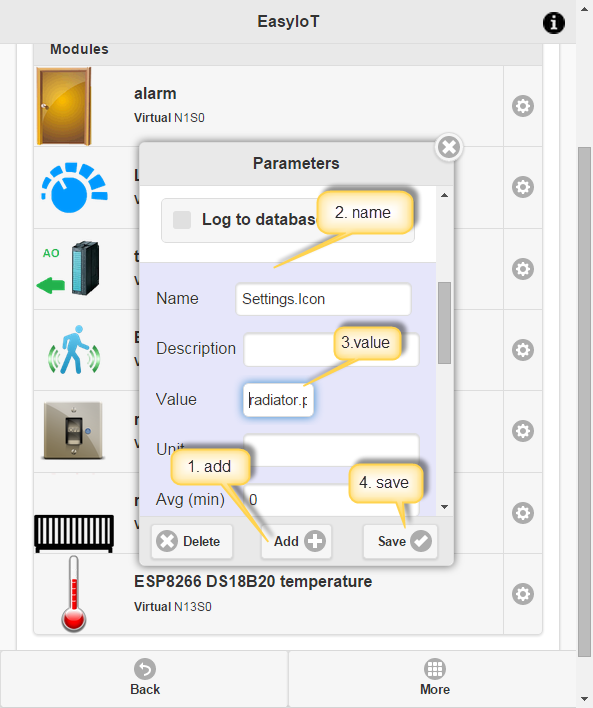
If our module uses two states, add second icon under name Settings.Icon1.
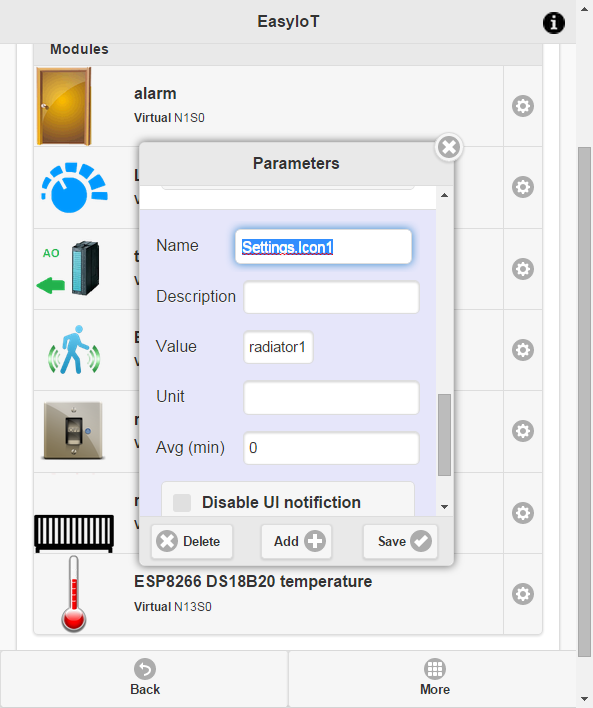
And that's it. Now you can see custom icon in user interface.
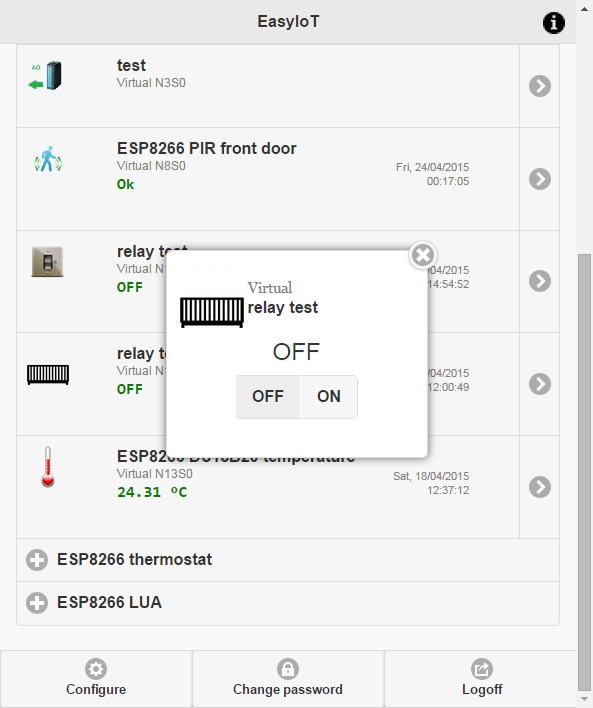
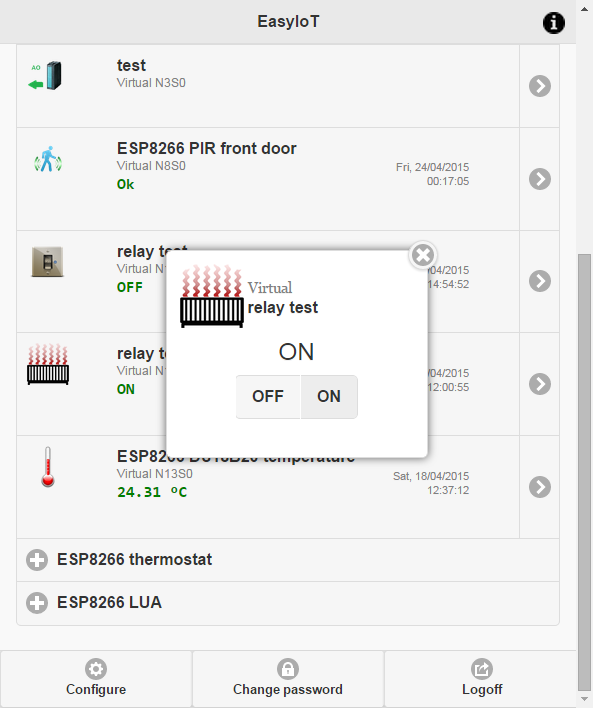
See more tutorials at http://iot-playground.com/build
Buying guide
To support this site and EasyIoT framework development please buy in our store.
 $41.99
 $39.96
Comments
I'd like also to have 3 states to assign one icon to Up, Stop and Up in Roller shutter control, instead boxes Down, Stop and Up
RSS feed for comments to this post