This tutorial will show how to build ESP8266 WiFi air pressure and weather forecast sensor with Arduino, BMP180 and EasyIoT server.
Material
See buying guide at the end of tutorial.
-ESP8266 module
| ESP8266 ESP-01 Serial WIFI Wireless Transceiver Module | |
$2.11  | |
$17.00  |
| ESP8266 ESP-03 Serial WIFI Wireless Transceiver Module | |
$2.07  | |
$2.15  |
| ESP8266 ESP-12 Serial WIFI Wireless Transceiver Module | |
$2.06  | |
$1.75  |
| ESP8266 ESP-05 Serial WIFI Wireless Transceiver Module | |
$1.88  |
| ESP8266 ESP-07 Serial WIFI Wireless Transceiver Module | |
$2.18  | |
$1.88  |
-Arduino Pro Mini 8Mzh 3.3V
| 3.3V 8Mhz Arduino Pro Mini | |
$2.05  | |
$1.78  |
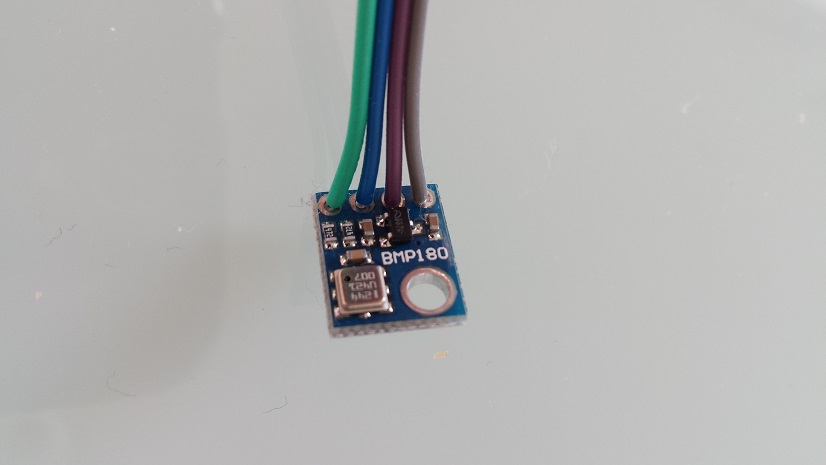
-BMP180 Barometric Pressure/Temperature/Altitude sennsor module
| BMP180 Digital Barometric Pressure Sensor | |
$1.22  | |
$1.29  |
-EasyIoT server (Raspberry Pi or Windows)
| RASPBERRY PI 3 - Model B. 1GB RAM | |
$41.99  | |
$39.96  |
See buying guide at the end of page for details and please shop in our store to support EasyIoT framework.

WiFi Sensor
Connect Arduino and ESP8266 module. If you are using 5V Arduino follow "Connect ESP8266 and 5V Arduino" instructions. For 3V Arduino folow "Connect ESP8266 and 3V Arduino" instructions. BMP180 is not 5V tolerant, but if you are using module, most of them use 3.3V regulator. Connect power lines to VCC and GND. SDA to A4, SCL to A5.
BMP180 Arduino connection
| Arduino | BMP180 module |
| VCC | VCC |
| GND | GND |
| A4 | SDA |
| A5 | SCL |
Next program Arduino with program. Program is available at GitHub ESP8266 Air pressure example. In program example is used HW serial port. Correct to software serial port if your HW port is bussy. Also correct ESP8266 reset pin, AP username and password and server IP address. Fix altitude #define ALTITUDE 301.0 in source code. Altitude is important to correctly calculate air pressure at sea level.
Configure EasyIoT server
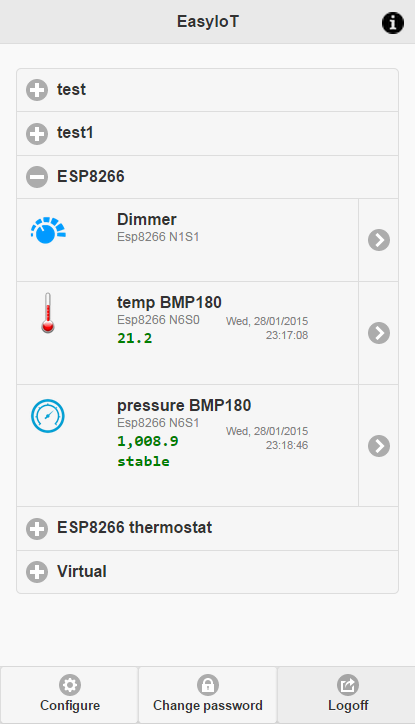
Download latest version of EasyIoT server and follow install instructions. Go to in Web browser and enter EasyIoT server IP. Click Configure->Drivers->Esp8266 EasyIot Driver and button "Add module". Then add new modules to group.
Weather forecast will be visible after 30 minutes, when Arduino can calculate air pressure difference.

See more tutorials at http://iot-playground.com/build
Buying guide
To support this site and EasyIoT framework development please buy in our store.
Comments
Correct to software serial port if your HW port is bussy. Also correct ESP8266 reset pin,
How i do this ?
#include
^
compilation terminated.
Sketch Eeprom read working without problems.
feet or meters?
thanks
RSS feed for comments to this post